
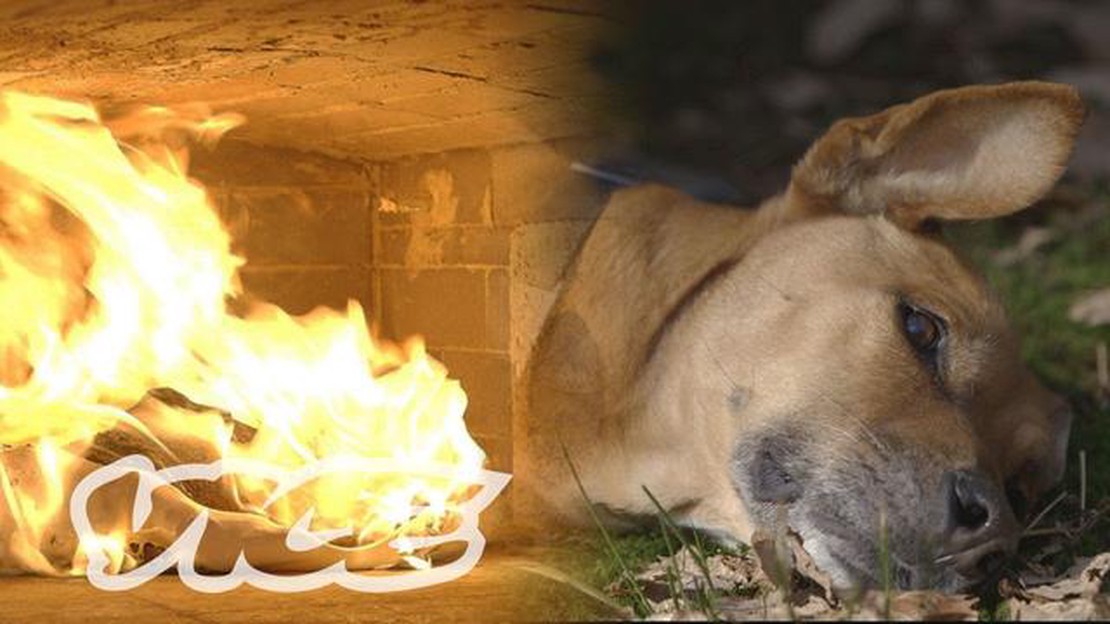

How Long Does It Take To Cremate A Dog? - Everything You Need To Know
How Long Does It Take To Cremate A Dog When it comes to saying goodbye to our beloved furry friends, cremation is a common choice for many pet owners. …
Read Article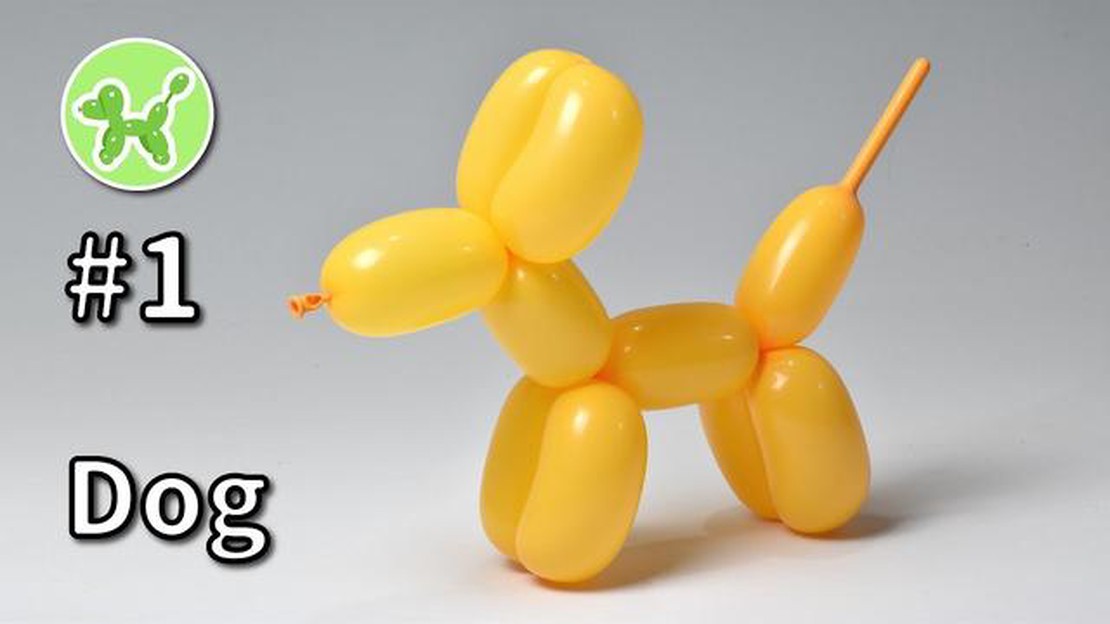
Do you love dogs and balloons? If so, you’re in for a treat! In this step-by-step guide, we’ll show you how to make an adorable dog using nothing but a balloon. Not only is this a fun and creative activity, but it also makes a perfect decoration for parties or a unique gift for dog lovers.
Materials:
Before we get started, here’s what you’ll need:
Now that you have all your materials ready, let’s dive into the step-by-step process of making a dog with a balloon.
Note: Adult supervision may be required, especially when using sharp objects like scissors.
Make sure to gather all the necessary materials before starting the process.
Before you can start making a dog with a balloon, you need to inflate the balloon. Here’s how you can do it:
Now that you have an inflated balloon, you are ready to move on to the next step in making a dog with balloon.
Now that you have inflated your balloon and tied it securely, it’s time to shape the dog’s head. Follow these steps:
Read Also: Can Dogs Die From Being Scared: Understanding the Potential Risks
Remember to twist and hold each loop securely in place to ensure that your dog’s head stays intact. Once you have shaped the head, you can move on to the next step.
Now that you have your dog’s head and ears, it’s time to make its body and legs. Follow these steps to complete the next part of your balloon dog:
Once you have completed these steps, you should have a basic body and legs for your balloon dog. Continue to the next step to add the final touches and complete your creation.
Now that you have the basic shape of the dog, it’s time to add some details to make it look more realistic and cute. Here are the steps to add these details:
Read Also: Cocacola Dog: The Fascinating Story Behind the Iconic Mascot
Once you have added these details, take a step back and observe your balloon dog. Make any necessary adjustments to achieve the desired look. You can use multiple colors of balloons and markers to customize the dog’s appearance even further.
With the details added, your balloon dog is now complete! It’s ready to be displayed or given as a playful gift.
Now that you have finished shaping the main body of the dog, it’s time to add some final touches to give it more personality. Here are a few ideas:
Remember to use your imagination and have fun with the final touches. These details will make your balloon dog unique and bring it to life!
To make a dog with a balloon, you will need the following materials: balloons, a pump, a permanent marker, and scissors.
You can inflate the balloon using a balloon pump. Simply insert the pump nozzle into the balloon opening and pump until the balloon is fully inflated.
The first step in making a dog with a balloon is to inflate a balloon and tie a knot at the end to secure the air inside.
How Long Does It Take To Cremate A Dog When it comes to saying goodbye to our beloved furry friends, cremation is a common choice for many pet owners. …
Read Article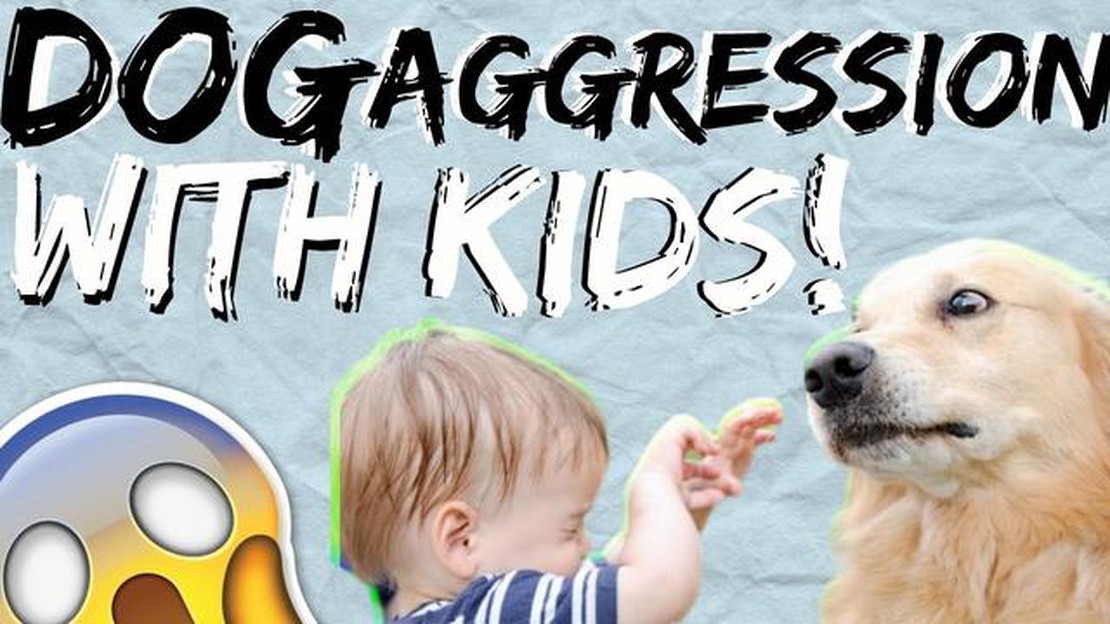
Why Does My Dog Bark At Babies It can be a confusing and concerning situation when your dog starts barking at babies. Dogs are known for their …
Read Article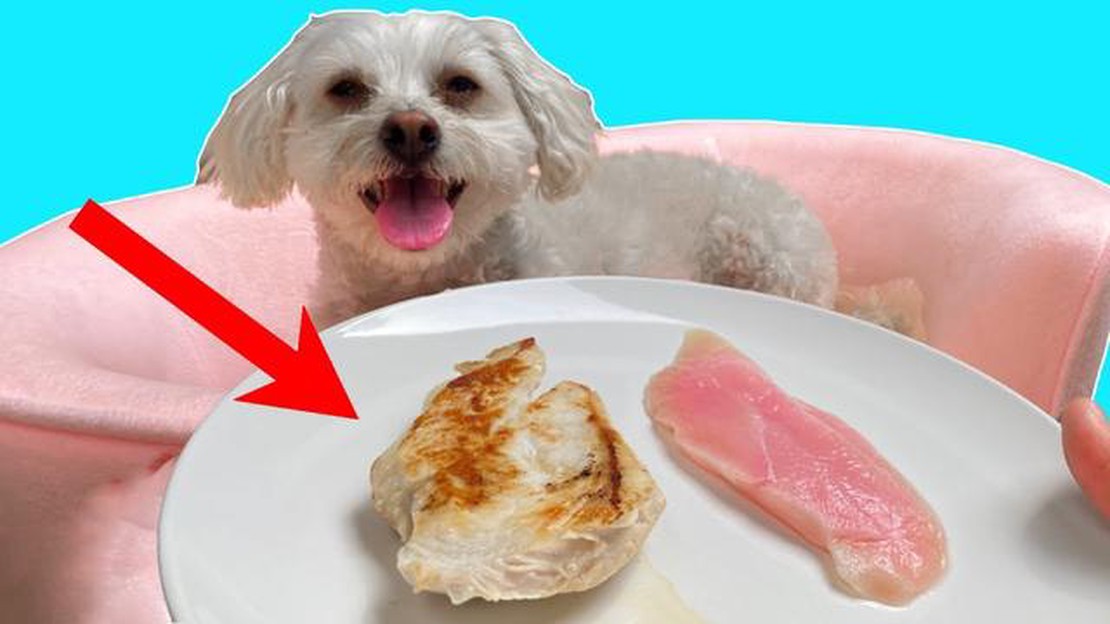
Can Dogs Eat Seasoned Chicken Many dog owners enjoy sharing their meals with their furry companions, and chicken is a popular choice due to its high …
Read Article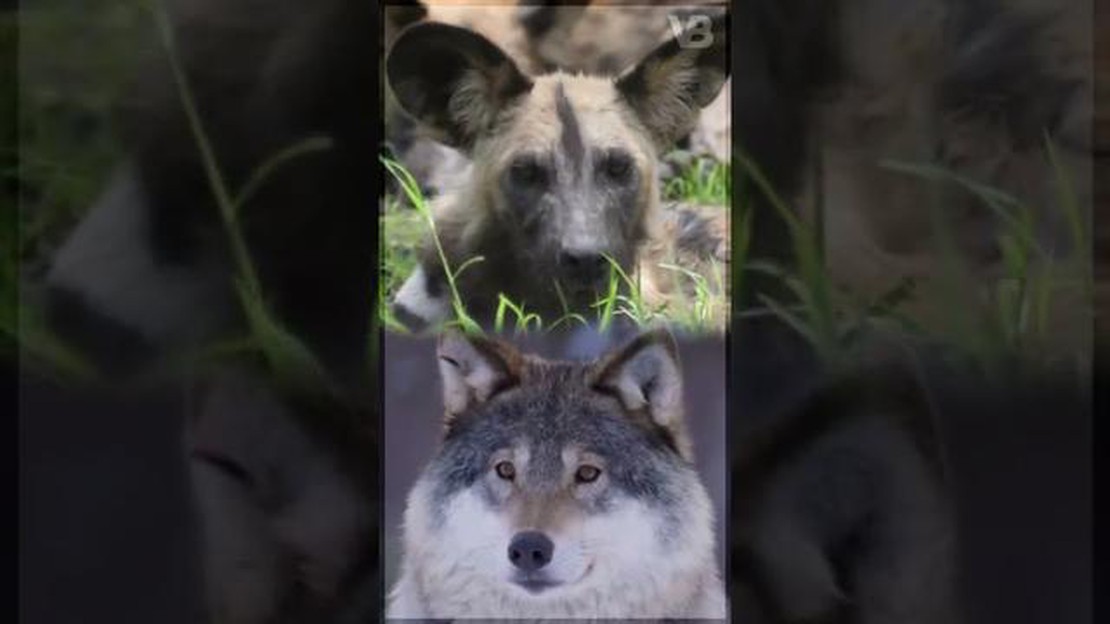
Can Wild Dogs Be Domesticated Domestication, the process through which wild animals become accustomed to living alongside humans, has played a crucial …
Read Article
Merrick Vs Purina Pro Plan Choosing the right dog food for your furry friend can be a daunting task. With so many options available on the market, …
Read Article
Is A 1 Year Old Dog Considered A Puppy Pet Care Tips Many dog owners wonder if their 1-year-old furry friend is still considered a puppy. The answer …
Read Article


