


How Many Cups In 8.5 Pounds: A Handy Conversion Guide
How Many Cups In 8.5 Pounds If you’ve ever found yourself in the middle of a recipe and realized you need to convert pounds to cups, you’re not alone. …
Read Article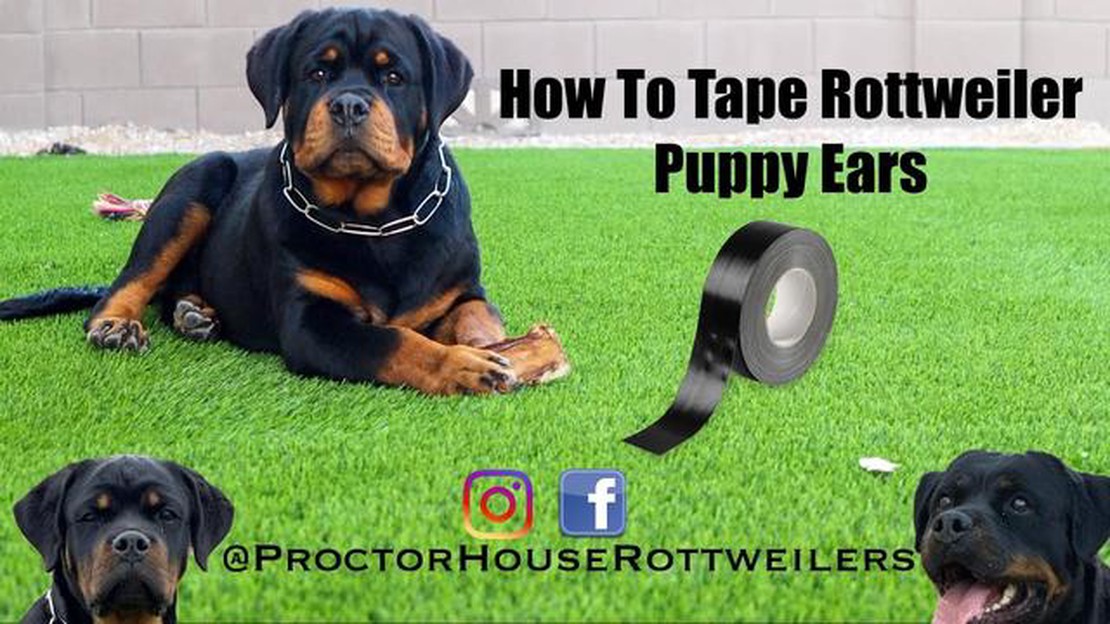
When it comes to certain dog breeds, such as Dobermans, Great Danes, and Boxers, ear taping is often necessary to ensure proper ear development and shape. Ear taping is a process in which the ears are gently manipulated and secured in place with tape in order to encourage them to stand upright. However, how long should you tape your dog’s ears?
The duration of ear taping varies depending on the breed, age, and individual dog. Generally, it is recommended to start taping your dog’s ears when they are around 7-9 weeks old and continue taping for several weeks up to several months. The exact length of time will depend on how quickly your dog’s ears respond to the taping, as well as the desired ear shape.
It’s important to note that every dog is different, and there is no one-size-fits-all answer to how long to tape a dog’s ears. Regular monitoring and adjustment of the tape may be necessary to ensure proper progress and prevent discomfort or damage to the ears. Consulting with a professional breeder or veterinarian who is experienced with your specific breed is highly recommended.
Overall, the process of taping a dog’s ears requires time, patience, and careful observation. By following a comprehensive guide and seeking advice from experts, you can ensure that your dog’s ears develop correctly and maintain the desired shape for a lifetime of health and beauty.
Ear taping is a common method used to shape and train a dog’s ears. It is especially popular in certain breeds that have floppy or droopy ears, such as Dobermans, Boxers, and Great Danes. The process involves applying adhesive tape to the dog’s ears in a specific manner to encourage them to stand upright.
Why is ear taping necessary?
Ear taping is usually done when a dog is still a puppy, as their ears are more malleable and easier to shape. By taping the ears, breeders or owners can help the cartilage develop in a way that promotes an upright ear position, which is desirable in certain breeds. Without taping, the ears may remain floppy or droopy, which can affect the dog’s appearance and potentially lead to ear problems.
When should you start ear taping?
The ideal time to start ear taping depends on the breed and individual dog. In general, most breeders recommend starting the process when the puppy is around 8 to 12 weeks old. At this age, the cartilage is still soft and pliable, making it easier to shape. It is important to consult with a breeder or a veterinarian who is familiar with the specific breed to determine the ideal time to start ear taping.
How long should you tape the dog’s ears?
The duration of ear taping varies depending on the breed and the individual dog. In general, it is recommended to tape the ears for several weeks or even a few months. However, it is crucial to monitor the dog’s ears during the taping process and adjust the tape as needed. If the ears start to stand upright naturally, the taping can be discontinued. It’s essential to follow the guidance of a breeder or a veterinarian to ensure the right duration for taping.
What materials are needed for ear taping?
To tape a dog’s ears, you will need several materials, including adhesive tape (often referred to as “breathable” or “surgical” tape), cotton balls or gauze pads, and scissors. The tape should be appropriate for the size of the dog’s ears and should be gentle on their skin to avoid irritation.
How is the ear taping process done?
Read Also: Australian Hog Dogs: The Ultimate Guide to Hunting with Australian Pig Hunting Dogs
The ear taping process typically involves several steps:
Monitoring and maintenance
Read Also: How to Dilute Chicken Broth for Dogs: A Complete Guide
During the taping process, it is crucial to regularly check the dog’s ears for any signs of irritation or infection. It is recommended to change the tape regularly to keep the ears clean and dry. If any issues arise, such as redness, swelling, or discharge, it is important to consult with a veterinarian for appropriate advice and treatment.
Overall, ear taping can be a beneficial method to shape and train a dog’s ears, especially in certain breeds. However, it should always be done with care and under the guidance of a breeder or a veterinarian to ensure the process is done correctly and safely.
There are several factors that can affect the duration of ear taping for a dog. These factors can vary depending on the breed and individual characteristics of the dog. Here are some key factors to consider:
It’s important to note that every dog is unique, and the length of time required for successful ear taping can vary. Consulting with a veterinarian or a professional dog breeder can provide more specific guidance based on the individual characteristics of your dog.
Ear taping is an important process for dogs with floppy ears or ears that need to be reshaped for breed standards or health reasons. To ensure efficient and effective ear taping, follow these tips and techniques:
Remember, every dog is unique, and the techniques for ear taping may vary depending on the specific breed and ear characteristics. It’s essential to consult with a professional to determine the best approach for your dog’s ears.
Taping a dog’s ears can be necessary in certain situations, such as when the dog has floppy ears that need to be trained to stand up straight or when the dog has recently undergone ear surgery and the ears need to be protected during the healing process.
The length of time that you should tape your dog’s ears can vary depending on the specific situation and the dog’s individual needs. It is best to consult with a veterinarian or a professional dog trainer who can provide guidance based on your dog’s specific needs.
The main purpose of taping a dog’s ears is to help train the ears to stand up straight. In some breeds, such as Doberman Pinschers or Great Danes, floppy or droopy ears are considered undesirable in the show ring, so taping can be done to help achieve the desired ear carriage. Taping can also be done after ear surgery to protect the ears during the healing process.
The frequency of tape changes will depend on several factors, such as the type of tape used and the individual dog’s needs. As a general guideline, it is recommended to check the tape regularly and change it if it becomes dirty, loose, or if it starts to irritate the dog’s skin.
Taping a dog’s ears can be a delicate process and it is recommended to seek professional help, especially if you are unsure or inexperienced. A veterinarian or a professional dog trainer can provide guidance and ensure that the taping is done correctly to avoid any potential harm or discomfort to the dog.
While taping a dog’s ears is generally not harmful when done correctly, there are some potential risks and complications that can arise. These can include irritation or skin problems caused by the tape, discomfort or pain for the dog if the taping is too tight or done improperly, or failure of the ears to stand up even after taping. It is important to follow proper techniques and consult with a professional to minimize these risks.
Maintaining the upright position of a dog’s ears after taping can require ongoing care and attention. This can involve regularly checking the ears for any signs of drooping or discomfort, keeping the ears clean and free from any irritation or infection, and providing adequate support to the ears when needed, such as using ear braces or supports. Regular monitoring and consulting with a professional can help ensure the ongoing success of the taping process.
How Many Cups In 8.5 Pounds If you’ve ever found yourself in the middle of a recipe and realized you need to convert pounds to cups, you’re not alone. …
Read Article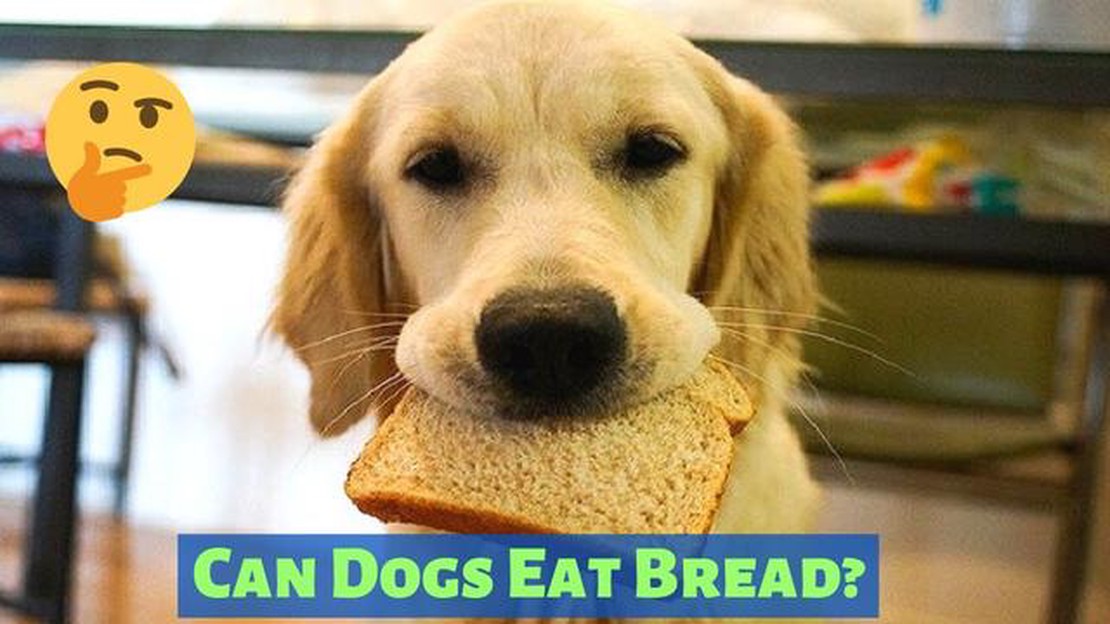
Can Dogs Eat Bread Bread is a staple food in many households, but can it be safely consumed by dogs? As a responsible pet owner, it’s important to …
Read Article
Is 67 Degrees Cold When it comes to determining whether 67 degrees Fahrenheit is considered cold, it really depends on your perspective and what you …
Read Article
Benadryl Dosage For Dogs If your dog is experiencing allergies or itching, you may be wondering if you can give them Benadryl. Benadryl is a common …
Read Article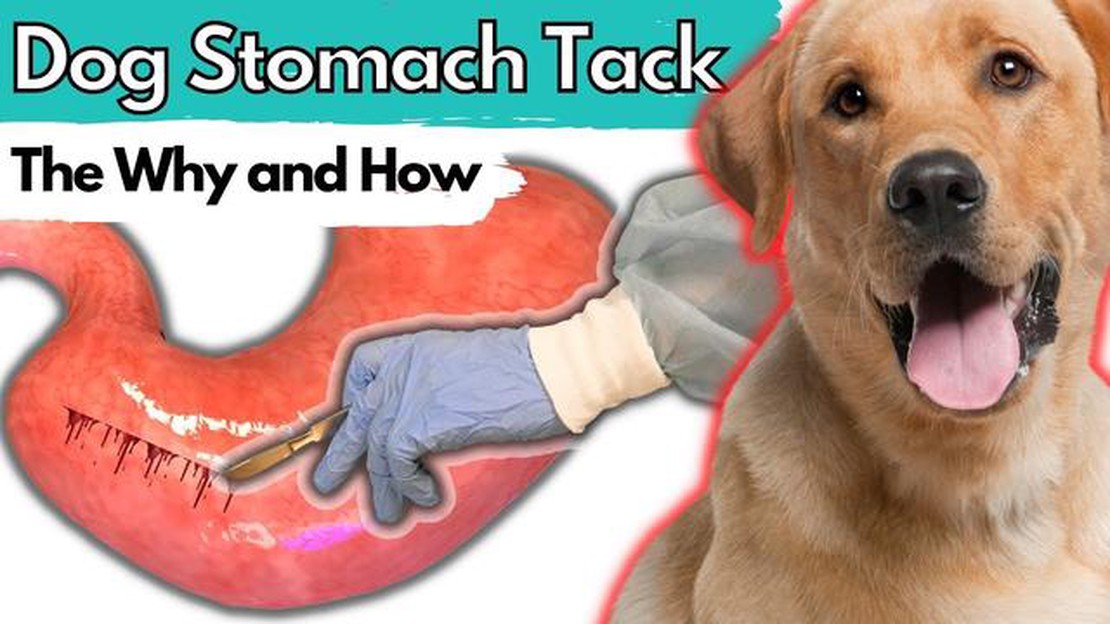
Thickened Stomach Wall In Dogs The thickening of the stomach wall in dogs can be a concerning condition that requires prompt diagnosis and treatment. …
Read Article
How Far Can A Dog Smell Another Dog In Heat Dogs have an incredible sense of smell that allows them to detect scents that are undetectable to humans. …
Read Article


