
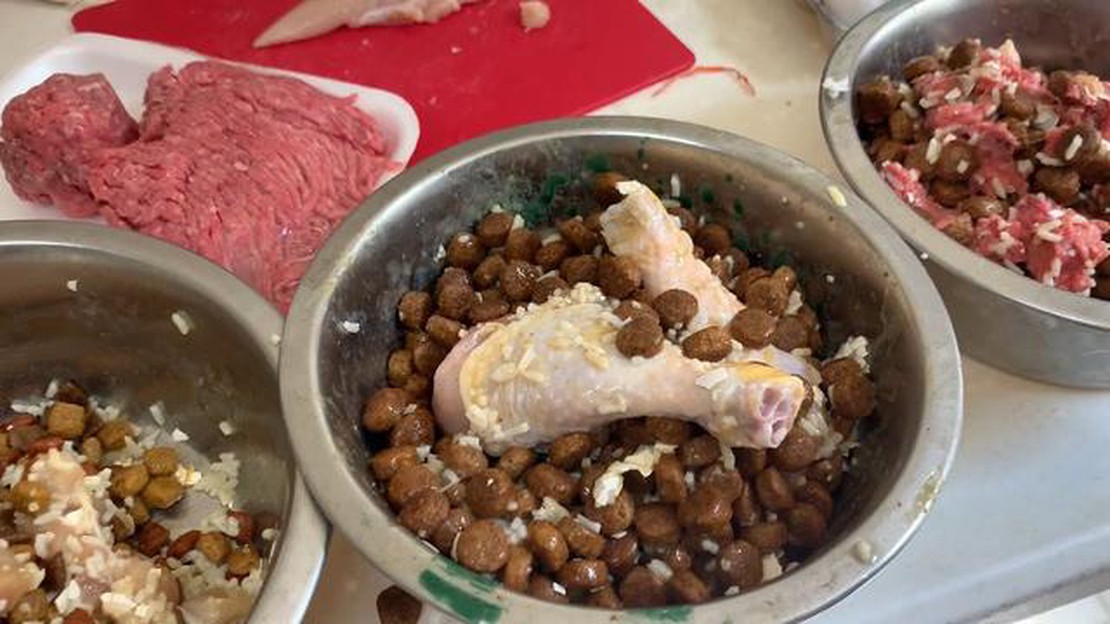

Feeding Raw Meat to Pitbulls: The Right Age to Start
At What Age Can I Feed My Pitbull Raw Meat Feeding raw meat to pitbulls has become increasingly popular among dog owners. Many believe that a raw diet …
Read Article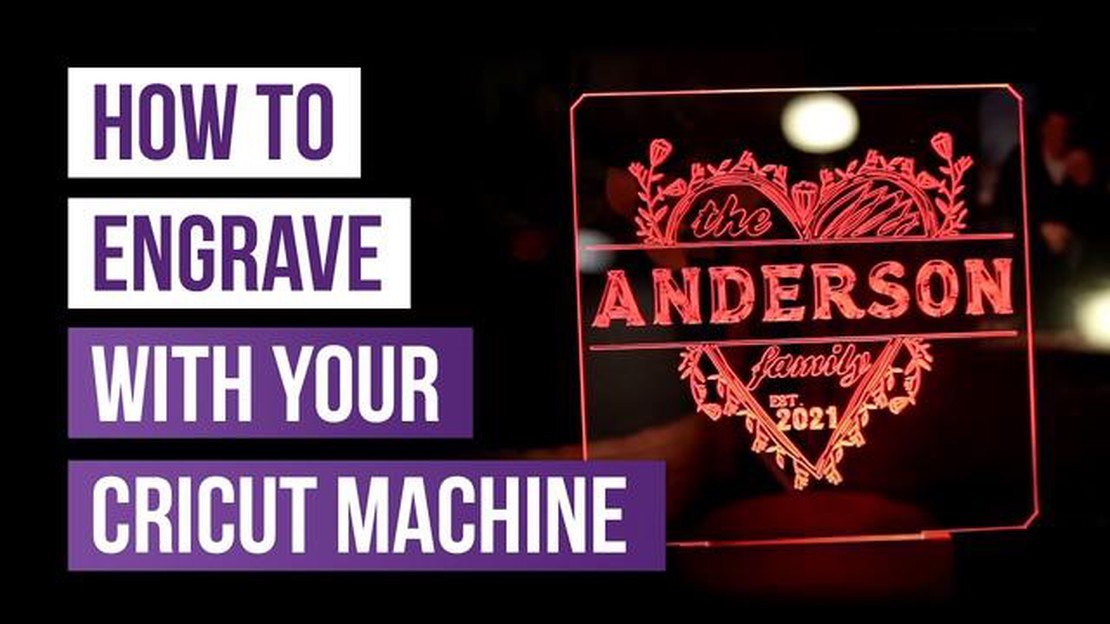
Are you looking to add a personal touch to your crafts and projects? With the Cricut Explore Air 2, you can now easily engrave your designs onto a variety of materials. Whether you’re a craft enthusiast or a professional artist, this versatile machine is a game-changer.
Why choose the Cricut Explore Air 2 for engraving?
The Cricut Explore Air 2 is not just your ordinary cutting machine. It’s equipped with a fine-point blade that allows you to create intricate designs with precision. But what really sets it apart is its engraving capabilities. With the Cricut Explore Air 2, you can engrave designs on materials like metal, leather, acrylic, and more.
How does engraving with Cricut Explore Air 2 work?
The process is simple. First, you’ll need to design your engraving using the Cricut Design Space software. This user-friendly software offers a wide range of fonts and graphics to choose from. Once you’ve designed your engraving, you’ll need to secure the material onto the cutting mat and load it into the machine.
The Cricut Explore Air 2 will then use its powerful motor and precision cutting technology to engrave your design onto the material of your choice. You can customize the depth and pressure of the engraving to achieve different effects.
What can you create with engraving?
The possibilities are endless! Engraving with Cricut Explore Air 2 opens up a world of creative opportunities. You can personalize jewelry, create unique home decor items, make custom signs and labels, and even engrave your own artwork. The precision and versatility of this machine allow you to unleash your creativity and bring your ideas to life.
Take your crafts to the next level with Cricut Explore Air 2!
Whether you’re a hobbyist or a professional artist, the Cricut Explore Air 2 is a must-have tool. With its engraving capabilities and user-friendly design software, you can take your crafts to the next level and create truly personalized pieces. Say goodbye to generic designs and hello to custom creations!
Engraving is the process of etching or cutting designs or patterns into a hard surface. It is a traditional technique that has been used for centuries to create intricate and detailed designs on various materials, including metal, wood, glass, and plastic. With advancements in technology, engraving can now be done using modern tools and machines, such as the Cricut Explore Air 2.
Engraving allows you to personalize and customize objects, making them unique and special. It is commonly used for creating personalized gifts, jewelry, home decor items, and even promotional products. The Cricut Explore Air 2 is a versatile machine that can engrave various materials and is perfect for both DIY enthusiasts and professionals.
With the Cricut Explore Air 2, you can easily create beautiful and intricate designs by simply uploading your own images or choosing from a library of pre-made designs. The machine uses a precise cutting and engraving tool to etch your design onto the material of your choice, giving it a professional and polished look.
Whether you want to create personalized gifts, add a unique design to your home decor, or start a small business selling engraved products, the Cricut Explore Air 2 is the perfect tool for all your engraving needs.
1. Versatility: With the Cricut Explore Air 2, you can create a wide range of projects. From personalized home decor to custom apparel, this machine can handle it all.
2. Precision: The Cricut Explore Air 2 uses advanced cutting technology to ensure precise and accurate cuts every time. Say goodbye to uneven edges and hello to professional-looking results.
3. Speed: With its fast cutting speed, the Cricut Explore Air 2 allows you to complete projects in record time. Spend less time waiting and more time creating!
4. Easy to use: Even if you’re a beginner, you’ll find the Cricut Explore Air 2 incredibly user-friendly. Its intuitive interface and step-by-step instructions make it a breeze to use.
5. Wide range of materials: Whether you’re working with vinyl, paper, leather, or even wood, the Cricut Explore Air 2 can handle it all. Its adaptive tool system ensures that you can achieve the perfect cut in any material.
6. Design flexibility: The Cricut Design Space software allows you to unleash your creativity and design your own projects. With a wide range of fonts, images, and pre-made designs, the possibilities are endless.
7. Wireless connectivity: The Cricut Explore Air 2 comes with built-in Bluetooth, allowing you to connect wirelessly to your computer or mobile device. Say goodbye to tangled wires and hello to convenience.
8. Community and support: When you choose Cricut, you become part of a vibrant and supportive community of crafters. From online tutorials to forums, you’ll never be short of inspiration or assistance.
9. Value for money: The Cricut Explore Air 2 offers outstanding value for money. With its high-quality construction and durable materials, this machine is built to last. Plus, with its wide range of features, it’s like having multiple machines in one.
10. Endless possibilities: The Cricut Explore Air 2 opens up a whole new world of creativity. From custom gifts to personalized home decor, there’s no limit to what you can create with this versatile machine.
Read Also: Discover How Fast Bunnies Can Run and Jump Bunny Speed Facts
Don’t miss out on the opportunity to elevate your crafting projects with the Cricut Explore Air 2. Experience the cutting-edge technology, ease of use, and endless possibilities for yourself today.
Engraving with Cricut Explore Air 2 allows you to create personalized and intricate designs on various materials. Whether you are a beginner or an experienced crafter, this guide will help you get started with engraving using your Cricut machine.
Read Also: Dog Pulling Out Hair: Causes, Solutions, and Prevention
With these steps, you can easily get started with engraving using your Cricut Explore Air 2. Remember to practice on scrap materials before working on your final project to ensure the best results.
Cricut Explore Air 2 is a powerful cutting machine that allows you to create stunning designs and personalized items with ease. To set up your Cricut Explore Air 2, follow these simple steps:
With Cricut Explore Air 2, the possibilities are endless. Start creating unique and beautiful designs today!
Engraving with the Cricut Explore Air 2 is an easy and efficient way to personalize your projects. Whether you want to add a name, a monogram, or a decorative design, the engraving process allows you to create high-quality, professional-looking results.
Here is a step-by-step guide on how to engrave using the Cricut Explore Air 2:
With the Cricut Explore Air 2, you can easily transform ordinary items into personalized masterpieces. Whether you’re creating gifts, home decor, or custom accessories, the engraving process adds a unique touch that sets your projects apart.
Before you start engraving with your Cricut Explore Air 2, it’s important to prepare your design. Follow these steps to ensure a successful engraving project:
By following these steps, you’ll be well-prepared to start your engraving project with your Cricut Explore Air 2. Enjoy the creative process and watch your designs come to life!
The Cricut Explore Air 2 is a cutting machine that allows you to create personalized and professional-looking designs. It can cut a wide range of materials, including paper, vinyl, and fabric.
No, the Cricut Explore Air 2 cannot engrave. It is a cutting machine, not an engraving machine. If you’re looking for an engraving machine, you might want to consider the Cricut Maker.
With the Cricut Explore Air 2, you can create a wide range of projects, such as custom cards, vinyl decals, iron-on transfers, and much more. The possibilities are endless!
Yes, the Cricut Explore Air 2 is designed to be user-friendly. It comes with a simple and intuitive software called Design Space, which allows you to create and customize your designs easily. There are also plenty of tutorials and guides available to help you get started.
The Cricut Explore Air 2 can cut a wide variety of materials, such as cardstock, vinyl, iron-on, adhesive foil, and poster board. You can also use it to score materials like paper and cardstock.
Yes, the Cricut Explore Air 2 is wireless. It has built-in Bluetooth capabilities, so you can connect it to your computer or mobile device wirelessly. This allows for more flexibility and convenience in your crafting projects.
When you purchase the Cricut Explore Air 2, you will receive the cutting machine itself, a fine-point blade, a cutting mat, a power cord, a USB cord, and a basic tool set. You will also get a free trial membership to Cricut Access, which gives you access to a library of thousands of images, fonts, and projects.
At What Age Can I Feed My Pitbull Raw Meat Feeding raw meat to pitbulls has become increasingly popular among dog owners. Many believe that a raw diet …
Read Article
Tick Nest On Dog Is your dog scratching incessantly? It might be because of a tick infestation. Ticks are pesky parasites that can cause discomfort …
Read Article
Do Dogs Like Soft Beds When it comes to our furry friends, providing them with a comfortable place to rest is important. Dogs spend a significant …
Read Article
Fastest Greyhound Experience the thrill and speed with our incredible greyhound racing champion. Get ready to witness the fastest greyhound on the …
Read Article
Why Does My Dogs Back Twitch When I Touch It Have you ever noticed your dog’s back twitching when you touch it? It may seem strange, but there are …
Read Article
Why Does My Dog Pee In His Water Bowl Have you ever walked into the kitchen to find your dog peeing in his water bowl? It’s a puzzling and frustrating …
Read Article


